If you’re planning to paint the interior walls of your Livonia home, knowing how to sand walls before painting is crucial for achieving a smooth and long-lasting finish.
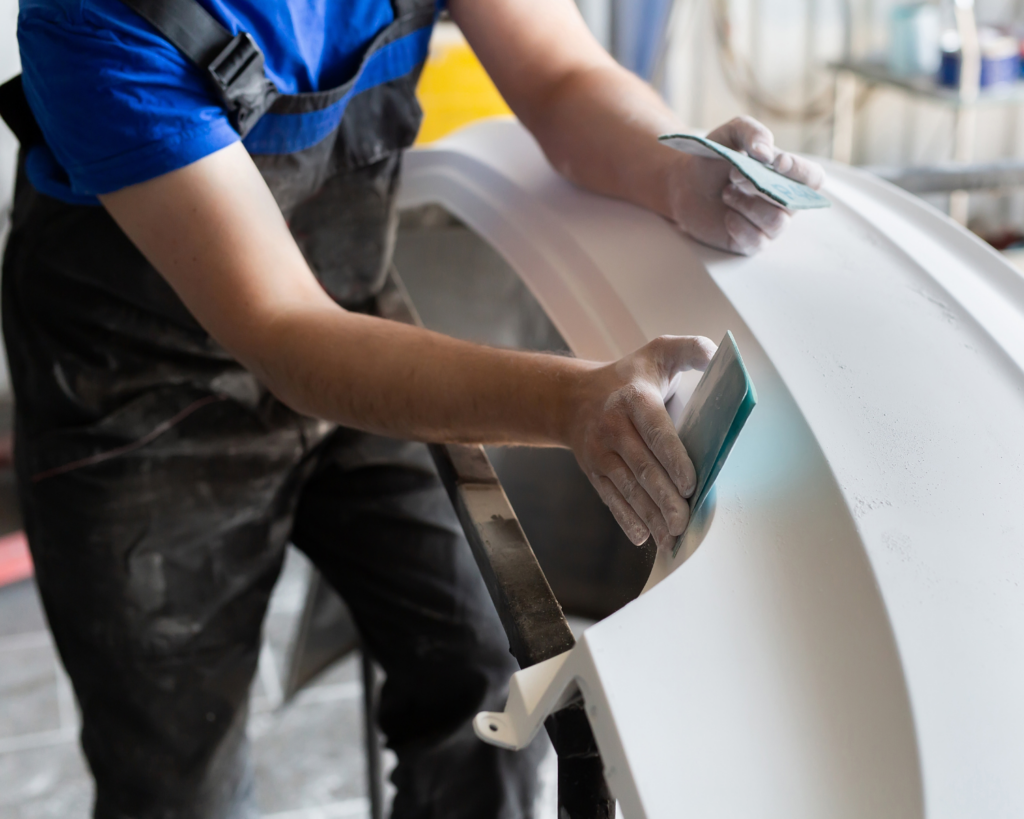
One essential step in the preparation process of house painting is sanding the walls. Sanding helps to remove imperfections, create a smooth surface, and promote better adhesion of the paint.
In this comprehensive guide, we will walk you through the steps of sanding walls before painting, providing you with the knowledge and techniques needed to achieve professional results.
Let’s begin!

How to Sand Walls Before Painting?
Getting your walls ready for a fresh coat of paint starts with proper sanding. Discover the essential steps and techniques needed to achieve a smooth surface for your painting project. From choosing the right sandpaper grit to mastering sanding techniques, we’ve got you covered.
Step 1: Gather the Necessary Tools and Materials
How to sand walls before painting? Before you begin sanding, make sure you have all the required tools and materials ready. Here’s a list of what you’ll need:
- Sandpaper: Choose a medium-grit sandpaper (around 120 to 150 grit) for general sanding purposes. If you’re dealing with rough or uneven surfaces, you may need to start with a coarser grit and gradually move to a finer grit.
- Sanding block: A sanding block will help you maintain a consistent pressure while sanding and prevent your hand from getting fatigued.
- Dust mask: Protect yourself from inhaling dust particles by wearing a dust mask.
Safety goggles: Shield your eyes from any debris or dust that may be generated during the sanding process. - Drop cloths or plastic sheets: Cover the floor and any furniture in the room to protect them from dust and paint splatters.
- Vacuum cleaner or broom: Clean the walls and surrounding areas before sanding to remove any loose dirt or debris.
Step 2: Prepare the Room for Sanding
Before you start sanding, it’s important to prepare the room properly to minimize the mess and ensure a smooth workflow. Follow these steps:
- Remove any decorations, pictures, or wall fixtures from the area you’ll be sanding.
- Cover electrical outlets and switches with masking tape to protect them from dust and prevent accidental contact.
- Lay down drop cloths or plastic sheets to protect the floor and furniture.
Step 3: Inspect and Repair the Walls
Carefully inspect the walls for any cracks, holes, or other imperfections. Use a putty knife and spackle to fill in any holes or cracks.
Allow the spackle to dry completely, and then sand it down gently to create a smooth surface. If there is any loose or peeling paint, scrape it off before sanding.
Step 4: Start Sanding
Now it’s time to begin the sanding process. Follow these steps for effective sanding:
- Start with a medium-grit sandpaper (around 120 to 150 grit) attached to a sanding block. This will help you maintain a consistent pressure while sanding.
- Begin sanding in a circular motion, applying even pressure across the surface. Start from the top of the wall and work your way down.
- Focus on areas with imperfections, such as bumps, ridges, or rough patches. Sand these areas until they become smooth and blend in with the rest of the wall.
- Be mindful not to oversand or create deep grooves in the surface. Sand just enough to create a smooth and even texture.
- Periodically check your progress by running your hand over the sanded surface. If it feels smooth and even, you can move on to the next step.
Step 5: Clean Up the Dust
Sanding generates a significant amount of dust, so it’s essential to clean up properly before proceeding with the painting.
Follow these steps to remove the dust:
- Use a vacuum cleaner or a broom to remove the majority of the dust from the walls and surrounding areas.
- Wipe down the walls with a damp cloth to remove any remaining dust particles.
- Allow the walls to dry completely before moving on to the painting stage.
Step 6: Prime the Walls
Before applying the paint, it’s a good idea to prime the walls before painting. Priming helps to seal the surface, promote better adhesion of the paint, and ensure a more even finish. Follow the manufacturer’s instructions for the specific primer you’re using.
Step 7: Paint the Walls
After the primer has dried, it’s time to paint the walls. Choose a high-quality paint and follow the manufacturer’s instructions for application.
Use a roller or brush to apply the paint in smooth and even strokes, working from top to bottom. Allow the paint to dry completely before applying a second coat if necessary.
Wrapping It Up
Sanding walls before painting is crucial in achieving a professional finish for your interior walls. By following the steps outlined in this comprehensive guide, you’ll be able to prepare your walls effectively and create a smooth surface for painting.
Remember to gather all the necessary tools and materials, prepare the room properly, inspect and repair any imperfections, sand with care, and clean up the dust before moving on to priming and painting. With these techniques, you’ll be able to transform your walls and create a beautiful, long-lasting paint job that will enhance the overall aesthetic of your home.
Ready to get started on your interior house painting project in Northville, Novi, MI, and other surrounding areas? Call J&B Painting at 248-629-2458 today to speak with one of our painting experts. We offer professional interior house painting services as well as top-quality exterior painting services for both residential and commercial properties. Contact us now for a FREE estimate!


