Painting a bathroom can be a fun and fulfilling DIY project. With the right approach, it can completely transform the space into something fresh and exciting. This blog post shows you all the necessary steps and tips to ensure your bathroom painting project is a success. Additionally, this guide offers valuable tips on maintaining your newly painted bathroom, ensuring it stays fresh and vibrant for longer. Now, you can achieve that professional look by mastering techniques typically used by an interior house painter!
Painting a Bathroom: Your Comprehensive Guide
Preparing Your Bathroom for Painting
1. Choose Semi-Gloss or High-Gloss Paint
Semi-gloss and high-gloss paints create a more durable surface that is less permeable to moisture. This means they are less likely to absorb water vapor, reducing the risk of mold and mildew growth, a common problem in bathrooms.
Also, the smoother, shinier surface of these paints allows for easier cleaning. Water spots, soap scum, and other common bathroom stains can be wiped away more easily compared to matte or flat paints. Moreover, semi-gloss and high gloss paints can withstand the frequent cleaning and scrubbing that bathroom walls often require. This means your paint job will last longer, maintaining its appearance and integrity over time.
Last but not least, the reflective property of glossy paints helps to brighten the bathroom space. They reflect light, making the room appear larger and more vibrant. These paints also add a touch of elegance to your bathroom and can accentuate architectural details.
2. Prep Your Space
The time and effort put into preparing your bathroom for painting can make a huge difference in the final outcome. Proper preparation not only ensures a cleaner, more professional-looking finish but also makes the painting process smoother and more efficient.
Here’s a detailed look at each step in the preparation process in bathroom painting:
- Removing or Covering Fixtures and Hardware: Before you start painting, it’s important to either remove or cover all the fixtures and hardware in your bathroom. This includes items like towel racks, shower heads, faucets, light fixtures, and cabinet handles. Removing them provides a smoother painting surface and prevents paint from getting on these items. If removal isn’t possible, covering them with painter’s tape or plastic ensures they stay clean and paint-free.
- Cleaning the Walls: Bathrooms accumulate a lot of dust, grime, and possibly even mold due to the high moisture levels. Before painting a bathroom, it’s essential to clean the walls thoroughly. This can be done using a mild detergent or a mixture of water and vinegar. Cleaning ensures that the paint adheres properly to the walls and provides a clean, smooth surface for painting. Make sure the walls are completely dry before you start painting.
- Applying Painter’s Tape: For clean and professional edges, apply painter’s tape around the edges of the walls, near the ceiling, around the door frames, and along the baseboards. Painter’s tape prevents paint from getting onto surfaces you don’t want to be painted and helps create sharp, clean lines. Be sure to press down the edges of the tape to prevent paint from bleeding underneath.
- Protecting Floors and Countertops: It’s also important to protect your floors, countertops, and any other surfaces from paint splatters and spills. Use drop cloths or plastic sheeting to cover these areas. Secure them with tape to prevent them from slipping.
3. Address Mold and Mildew
Bathrooms are high-humidity environments due to regular use of hot water in showers and baths. This moisture creates an ideal breeding ground for mold and mildew, which can grow on walls, ceilings, and even in grout lines. Not only is mold unsightly, but it can also pose health risks, particularly for people with allergies or respiratory issues.
Addressing mold and mildew before painting a bathroom not only ensures a cleaner and healthier environment but also contributes to the longevity and appearance of your paint job. It’s a crucial step in prepping your bathroom for painting and maintaining the space in the long run.
To treat mold, use a solution of one part bleach and three parts water. Don’t forget to wear protective gear like gloves and a mask, as bleach can be harsh on the skin and lungs. Use a sponge or a spray bottle to apply the solution directly onto the moldy areas. For tougher mold spots, a brush can be used to scrub the area gently. Let it sit for about 15 minutes. Rinse the area thoroughly.
Painting a Bathroom: Techniques and Tips
1. Cutting In
Cutting in is a painting technique used to achieve clean, crisp lines along the edges of a room – near the ceiling, corners, baseboards, and around door and window frames. It’s typically the first step in the painting process, done before using a roller on the larger wall surfaces. This technique is especially important when painting a bathroom. It allows for precision and prevents paint from getting onto surfaces where it’s not intended.
For cutting in, use an angled brush. This type of brush allows for more control and helps you paint neat lines. A brush that is 2 to 2.5 inches in size is usually a good choice for most bathroom painting projects. It’s important to load the brush correctly – dip only about a third of the bristles into the paint, and tap off the excess. This helps to avoid drips and gives better control over the paint application.
Start a little away from the edge and move towards it in a smooth stroke. The bristles will fan out slightly, allowing the paint to reach right into the edge without overloading it. Cutting in requires a steady hand and a bit of patience. Don’t rush the process. If you do happen to get paint where it shouldn’t be, wipe it off immediately.
Sometimes, it may be necessary to do a couple of layers when cutting in to ensure even coverage and a uniform appearance with the rest of the wall.
After cutting in and before the edges dry, follow up with a roller. This helps to blend the brush strokes with the rest of the wall, ensuring a seamless finish.
Here’s a short video that shows you how to`do this technique properly:
2. Using Rollers Effectively
Rollers are designed to cover large, flat areas quickly and efficiently. They provide a more uniform application of paint compared to brushes and are ideal for walls and ceilings. When painting a bathroom, where space can be tight, using a roller becomes even more important to achieve a smooth, consistent finish.
To use a roller effectively, roll the paint on in a 3×3 foot section, creating a W. Then, without lifting the roller, fill in the W with up and down strokes. This method helps to distribute the paint evenly and avoids the buildup of paint, which can lead to drips or uneven thickness.
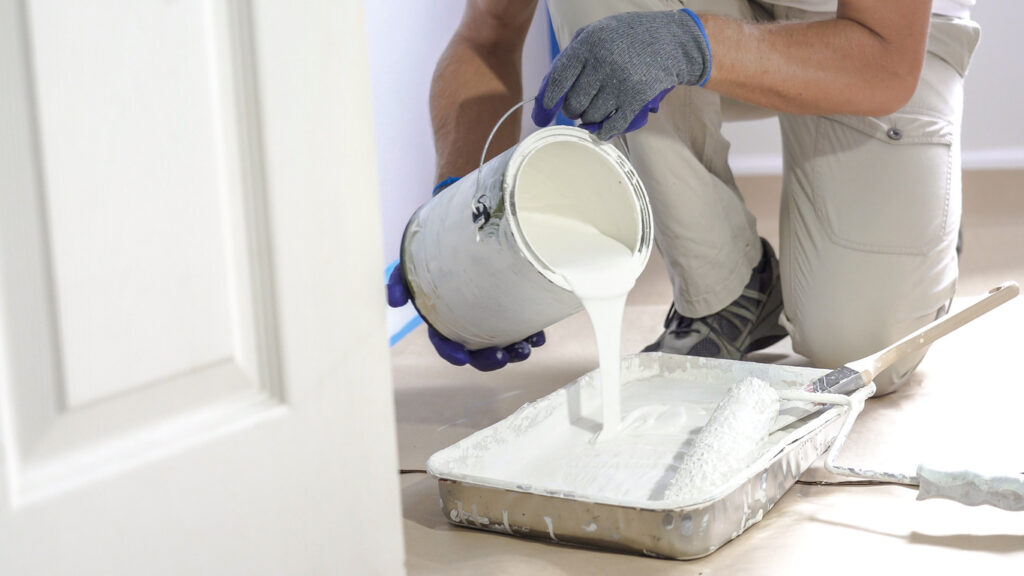
Do not overload the roller with paint. Dip it into the paint, then roll it back and forth on the tray’s ramp to evenly distribute the paint on the roller cover. The roller should be fully covered in paint, but not dripping.
Apply consistent, moderate pressure to avoid streaks and ensure that the paint is applied uniformly across the surface. Each stroke should slightly overlap the previous one. This blending technique helps to avoid lines or stripes where the edges of the roller strokes meet.
After painting, revisit the edges and corners (areas where you cut in earlier) to ensure a seamless integration between the brush and roller applications.
3. Ventilation is Key
Paint fumes can be harmful to breathe in, especially in a small, enclosed space like a bathroom. Good ventilation disperses these fumes, reducing the inhalation risk and making the bathroom painting process safer.
In addition, humidity can slow down the drying process of the paint. Proper ventilation helps reduce moisture in the air, allowing the paint to dry more efficiently and evenly. Faster drying not only speeds up the project but also helps avoid issues like drips or uneven texture.
Here are some helpful tips on ensuring proper ventilation:
- Use the Exhaust Fan: Most bathrooms are equipped with exhaust fans, and these should be turned on before beginning the painting process and kept running throughout. The fan will help to pull moist air out of the bathroom, improving air circulation.
- Opening Windows and Doors: If your bathroom has windows, keep them open during and after painting. This allows for a cross breeze that can significantly improve air circulation. Additionally, keeping the bathroom door open (if privacy permits) can also aid in air movement.
- Using Additional Fans: In bathrooms without windows, or for extra circulation, setting up a portable fan in the doorway can help. Position the fan to blow air out of the bathroom, drawing fresh air in from other parts of the house.
- Taking Regular Breaks: Especially in a poorly ventilated bathroom, it’s a good idea to take regular breaks. Step out into a well-ventilated area to give yourself a break from the fumes.
- Timing and Duration: Plan your bathroom painting project for a time when you can leave the space undisturbed with ventilation running for several hours or overnight. This ensures the paint dries well and any lingering fumes are cleared out.
Maintaining Your Newly Painted Bathroom
1. Regular Cleaning
Regular cleaning helps prevent mold buildup. By keeping the walls clean, you not only maintain a healthy environment but also protect the integrity of the paint. Additionally, regular cleaning prevents dust, grime, and other airborne particles from accumulating on wall surfaces, ensuring that the paint retains its color and finish.
A monthly cleaning routine on painted surfaces is typically sufficient. However, in high-traffic bathrooms or those with less ventilation, you might need to clean the walls more frequently.
It’s best to use a gentle cleaning solution to avoid damaging the paint. A mixture of warm water and mild detergent is usually effective. For more stubborn stains, a small amount of baking soda can be added to the mix. Use soft cloths or sponges. Abrasive scrubbers or harsh tools can scratch or wear away the paint.
Gently wipe the walls in a circular motion, focusing on areas with visible dirt or stains. Pay special attention to areas near the shower or tub and around the sink, as these are likely to accumulate more moisture and soap scum. A more frequent wipe-down of these areas might be necessary.
After cleaning, rinse the walls with a clean, damp cloth to remove any soap residue. Then, dry the walls with a soft, dry towel or cloth to prevent water spots and streaks.
2. Touch-ups and Repairs
Over time, even the best paint jobs in a bathroom can suffer from chips, peeling, or cracking, often due to the fluctuating moisture and humidity levels in the space. Small chips and peels can quickly become larger problems if left unattended. Moisture can seep into these areas, potentially leading to more extensive paint damage or even issues like mold growth. Prompt repairs can prevent these minor issues from escalating into major ones.
Timely touch-ups and repairs are key to maintaining the beauty and integrity of your bathroom walls. By addressing chips and peels as soon as they are noticed, you can extend the life of the paint and keep your bathroom looking its best. With the right tools and a bit of care, these minor fixes can have a significant impact on the overall appearance of your bathroom.
Regularly inspect your bathroom walls, paying close attention to areas near fixtures, corners, and edges where damage is more likely to occur. Incorporate touch-ups into your regular bathroom maintenance routine to keep your walls in the best condition. Good lighting ensures you don’t miss any spots and can accurately assess color matching.
3. Managing Humidity
Excessive moisture can adversely affect paint, leading to issues like peeling, blistering, and the growth of mold and mildew. Proper humidity management is crucial for maintaining the integrity and appearance of the paint.
Beyond just preserving the paint, controlling humidity is essential for maintaining a healthy bathroom environment. Excess moisture can contribute to the deterioration of various bathroom fixtures and can be a breeding ground for harmful molds and bacteria.
Exhaust fans are highly effective at removing moist air from your bathroom. It’s recommended to turn on the fan before you start your shower or bath and leave it running for about 20 minutes afterward. This practice ensures that most of the steam and moisture is drawn out of the room, significantly reducing the humidity level.
If your bathroom has a window, opening it during and after showers can provide additional ventilation. The natural airflow helps in circulating the air and reducing moisture. Keeping the bathroom door open after use can also help, as it allows for better air circulation throughout the house, dispersing moisture more effectively.
In bathrooms without adequate ventilation or in particularly humid climates, using a dehumidifier can be beneficial. A dehumidifier can help maintain a balanced moisture level, protecting your paint and the overall health of your bathroom.
Conclusion
Painting a bathroom may seem daunting, but with the right preparation and techniques, you can achieve a beautiful and lasting finish. Remember, a fresh coat of paint can transform your bathroom into a pleasant and inviting space.
If the project seems to be too overwhelming, J&B Painting is here to help. Call us at (248) 599-0996 and we’ll swoop in to take the stress out of your project, delivering a stunning and durable finish that elevates your bathroom’s look.

